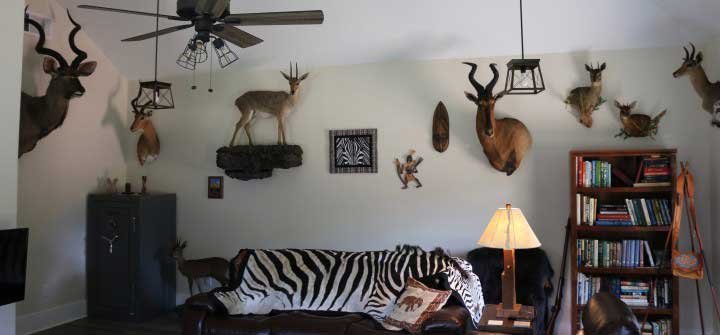
And, they're up...to stay!!!
I thought it might be interesting and useful to focus on the installation of only one of my trophies from the South African Safari, plus the final results from the installation of all the trophies. Otherwise, it will be very much like those excruciating encounters we have all had. You know, a friend asks “Do you want to see some photos from FILL IN THE BLANK (“our wedding, our kids, our dogs, our cats, our favorite vacation, our favorite tattoos”...o.k., so the last one might actually be entertaining...) and then you cannot get them to STOP!!!
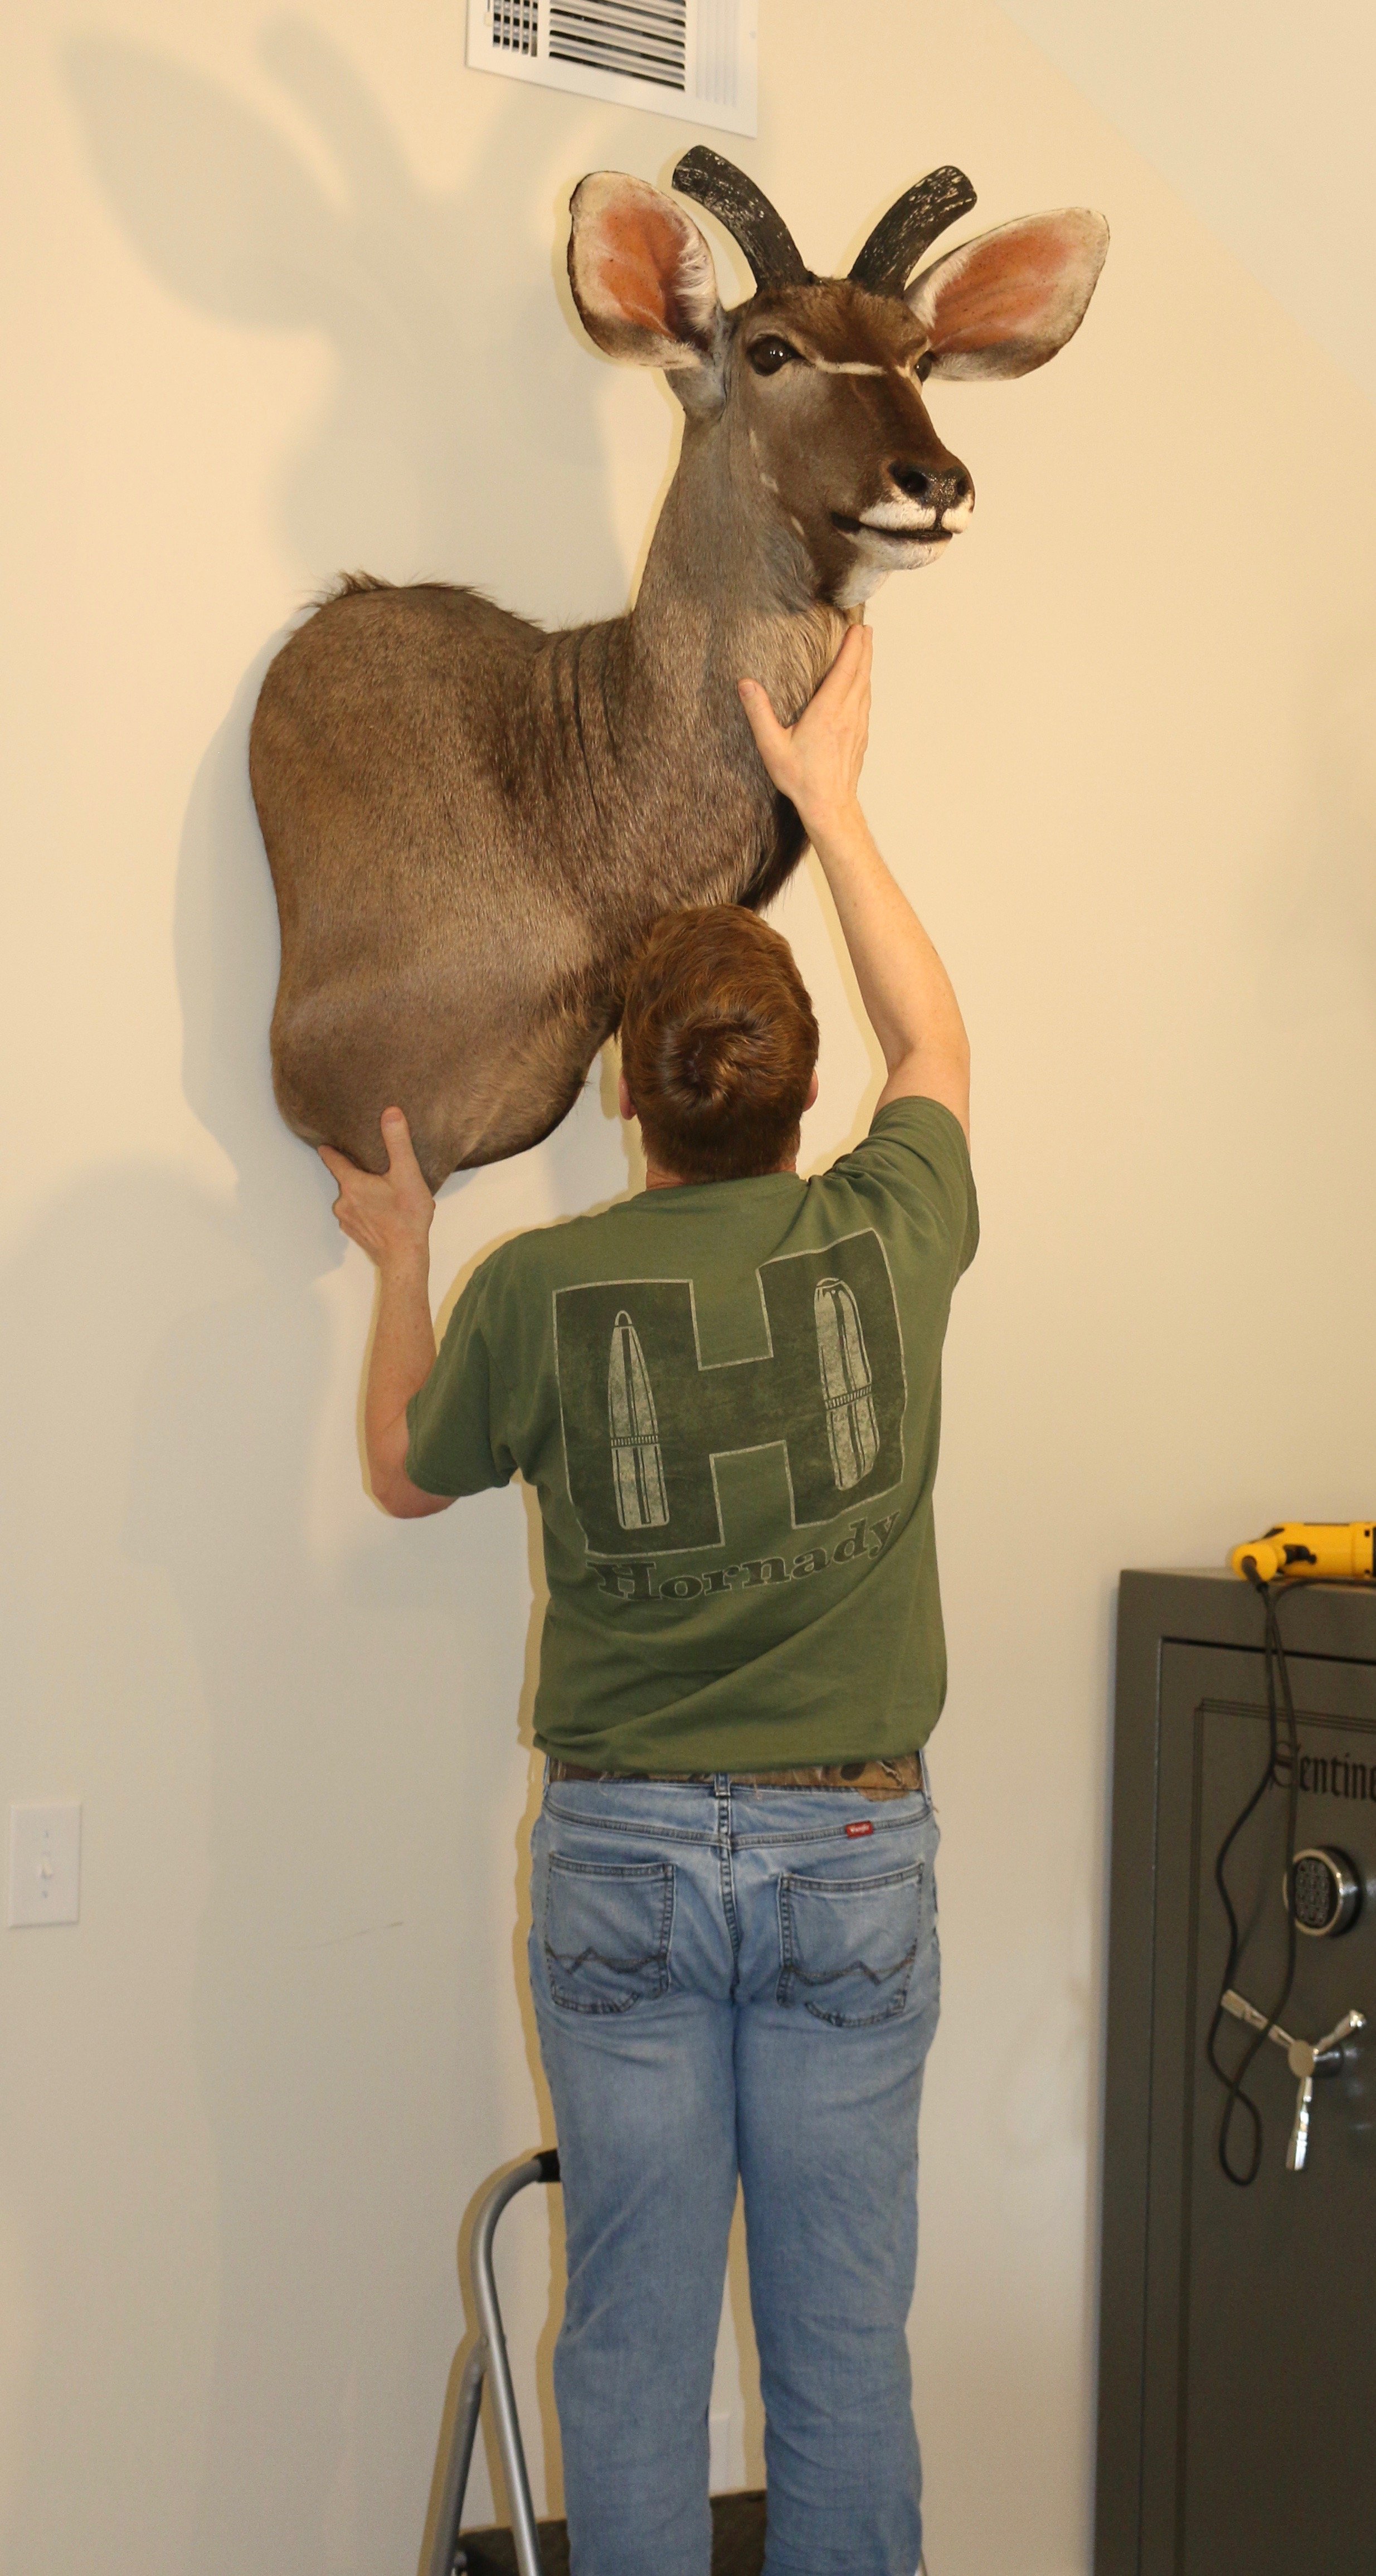
One of the more intriguing, if not the most difficult (that dubious honor goes to the Vaal Rhebok) mounts to install, was the Kudu. I captioned the following photo, “I am certain that the Kudu had horns when I left him with the taxidermist in Port Elizabeth, South Africa.” Yep, that’s right. To reduce the the size of crate needed for the overseas shipment and thus the cost to the recipient, the horns were left off the bases installed by the taxidermist. Those bases are a part of the form used as the structure on which the skin is placed; they act as the foundation for the horns.
The first step, of course, was to select an area of a wall that was large enough to accommodate an animal that is equivalent in mass to a medium-size Rocky Mountain Elk. I made finding space more difficult by choosing to have all of the shoulder-mounted trophies prepared as ‘wall-pedestals’. This technique results in one of the shoulders being displayed to a greater degree (see following photo), allowing the viewer to see more of the skin from the animal's shoulder. The shoulder skin on many African game animals is often quite beautiful. Wall-pedestals also help to add mass to smaller trophy species that might otherwise take on, for example, the appearance of a rat rather than an antelope!
After identifying the appropriate space, finding the stud necessary to support such a large and heavy trophy, inserting a 2.5 inch screw, lifting the heavy mount while standing on a ladder, slowly sliding the Kudu down the wall until the screw slid into the cavity in the back of the form, I slowly removed my hands while praying the mantra -- “please don't fall, please don't fall, please...!”
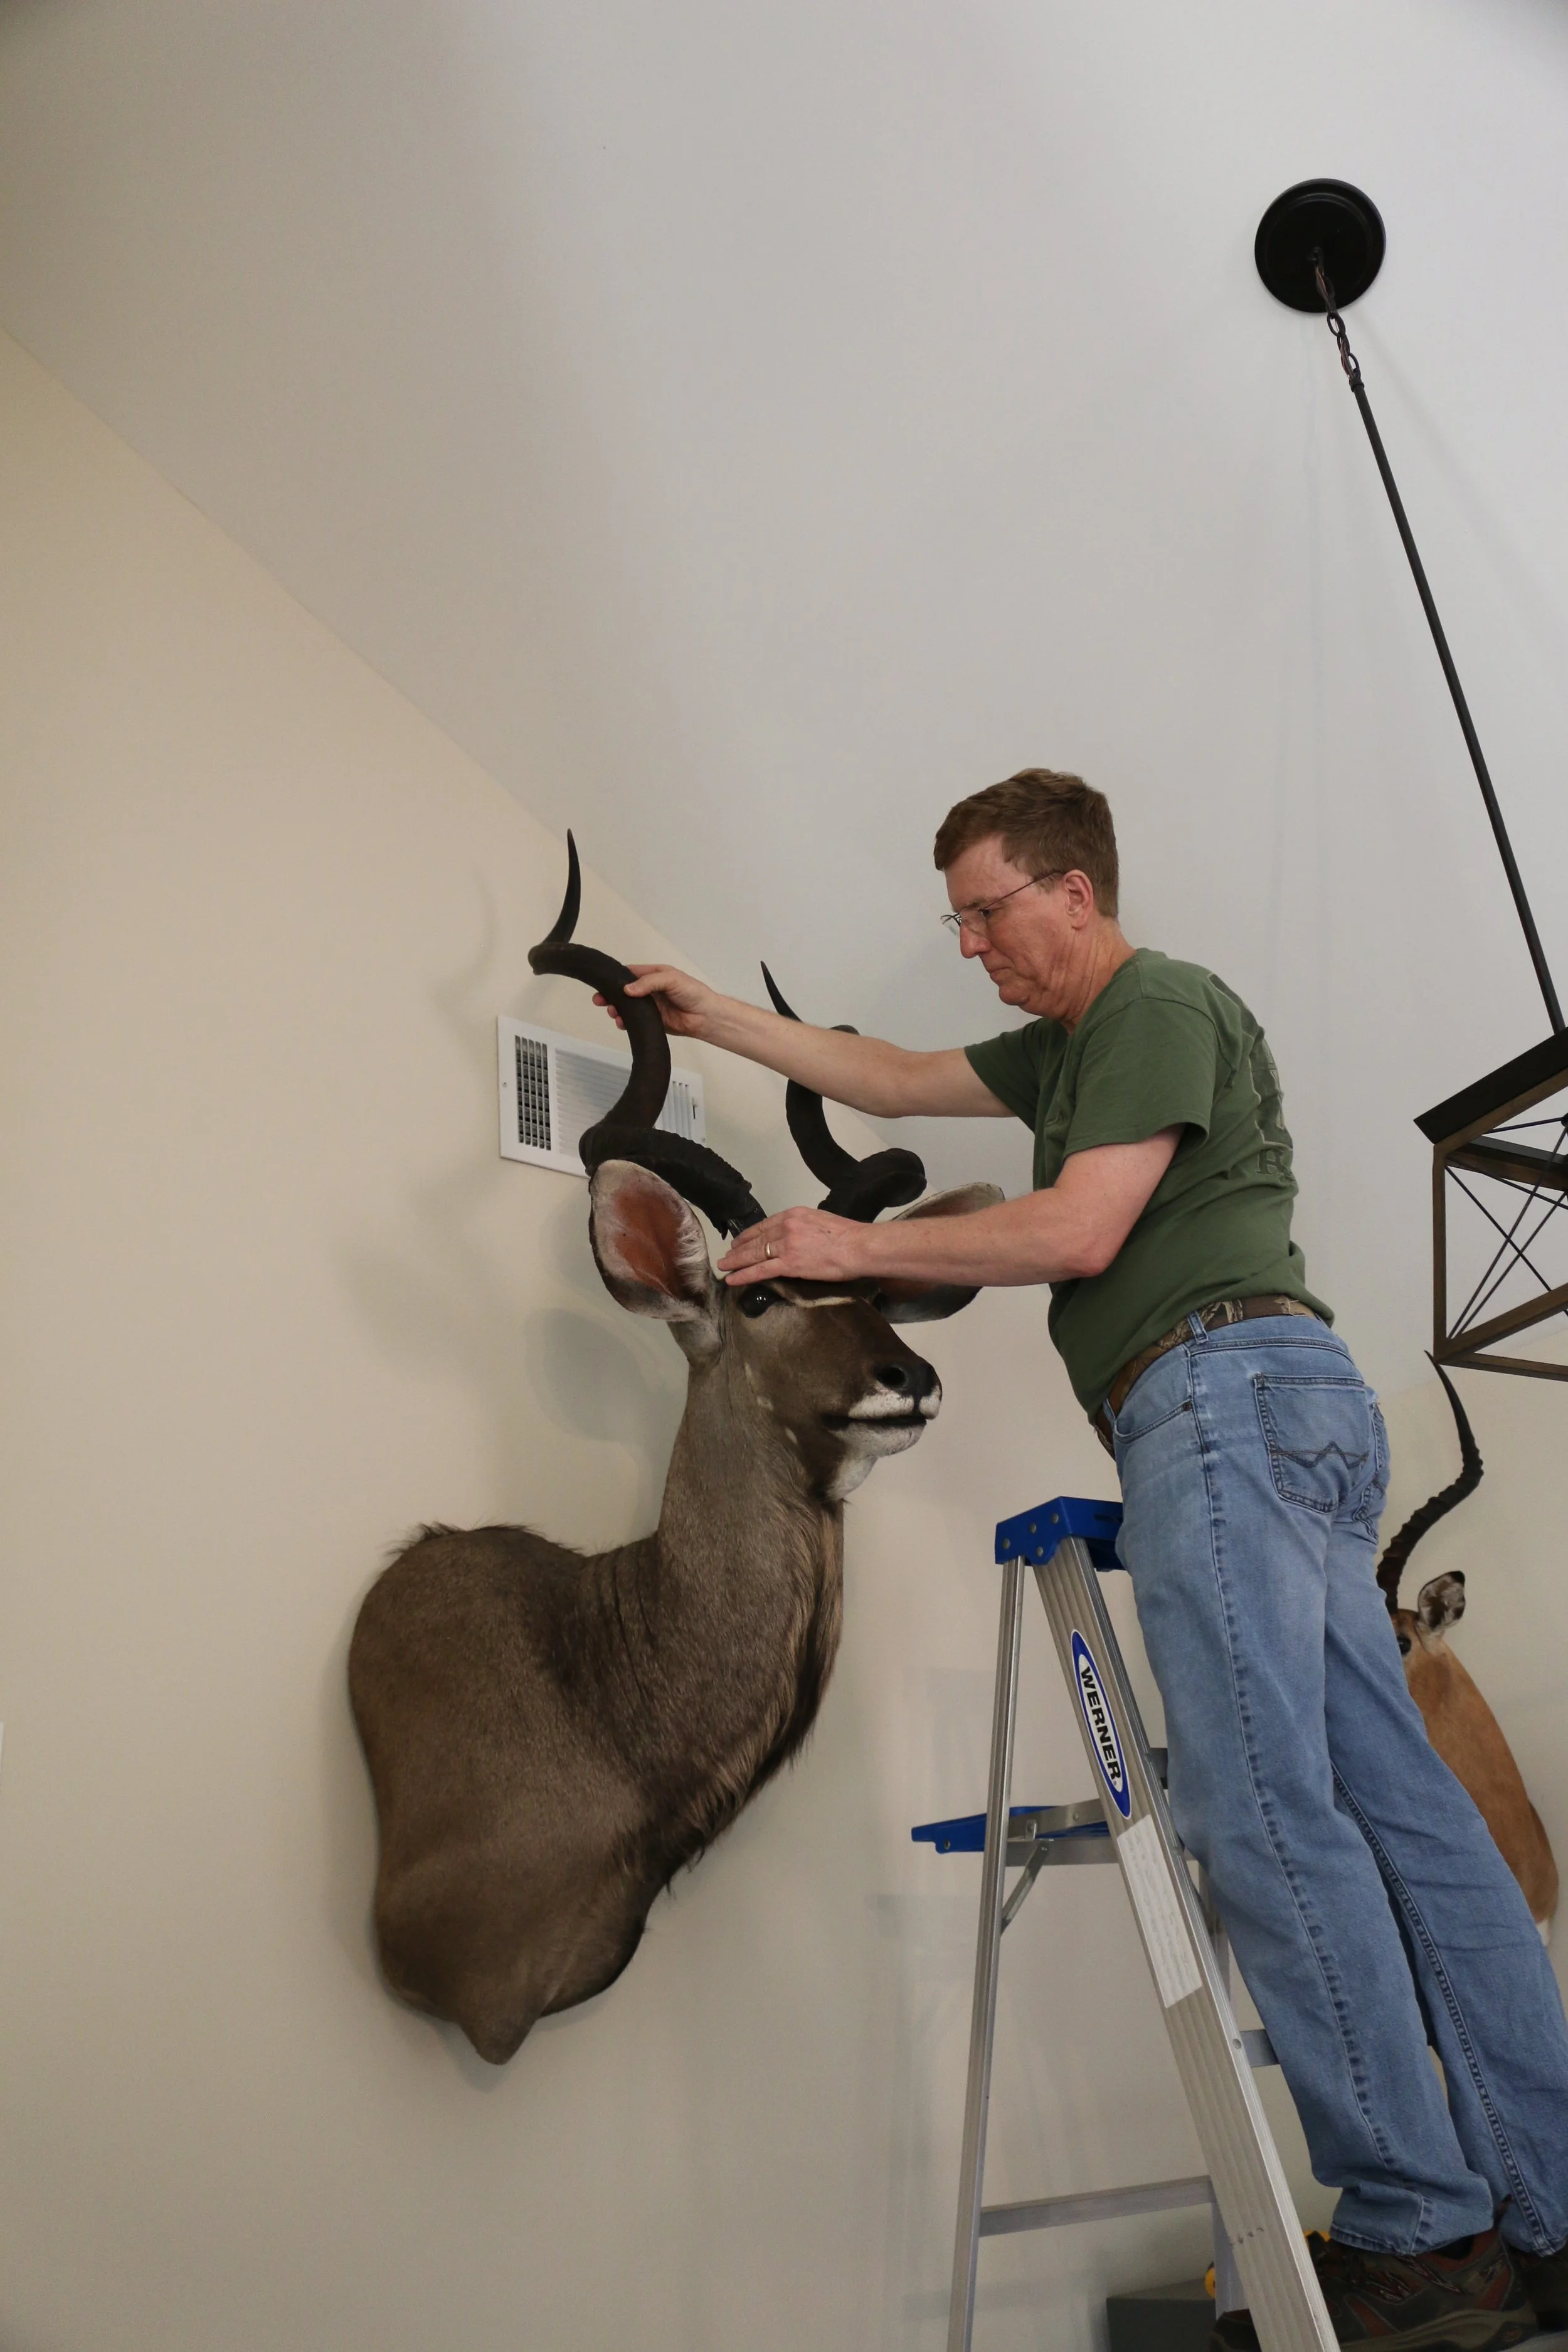
The final step was to bring in our tallest ladder, crawl up near the top and ‘pivot!!’ the horns onto their bases - and, yes, much to Frances’ amusement, I attempted to put the wrong horn onto the wrong base. In fact, she asked if I wanted her to find a photo we had taken after I shot the Kudu to show me which horn was correct. I did not find that amusing.
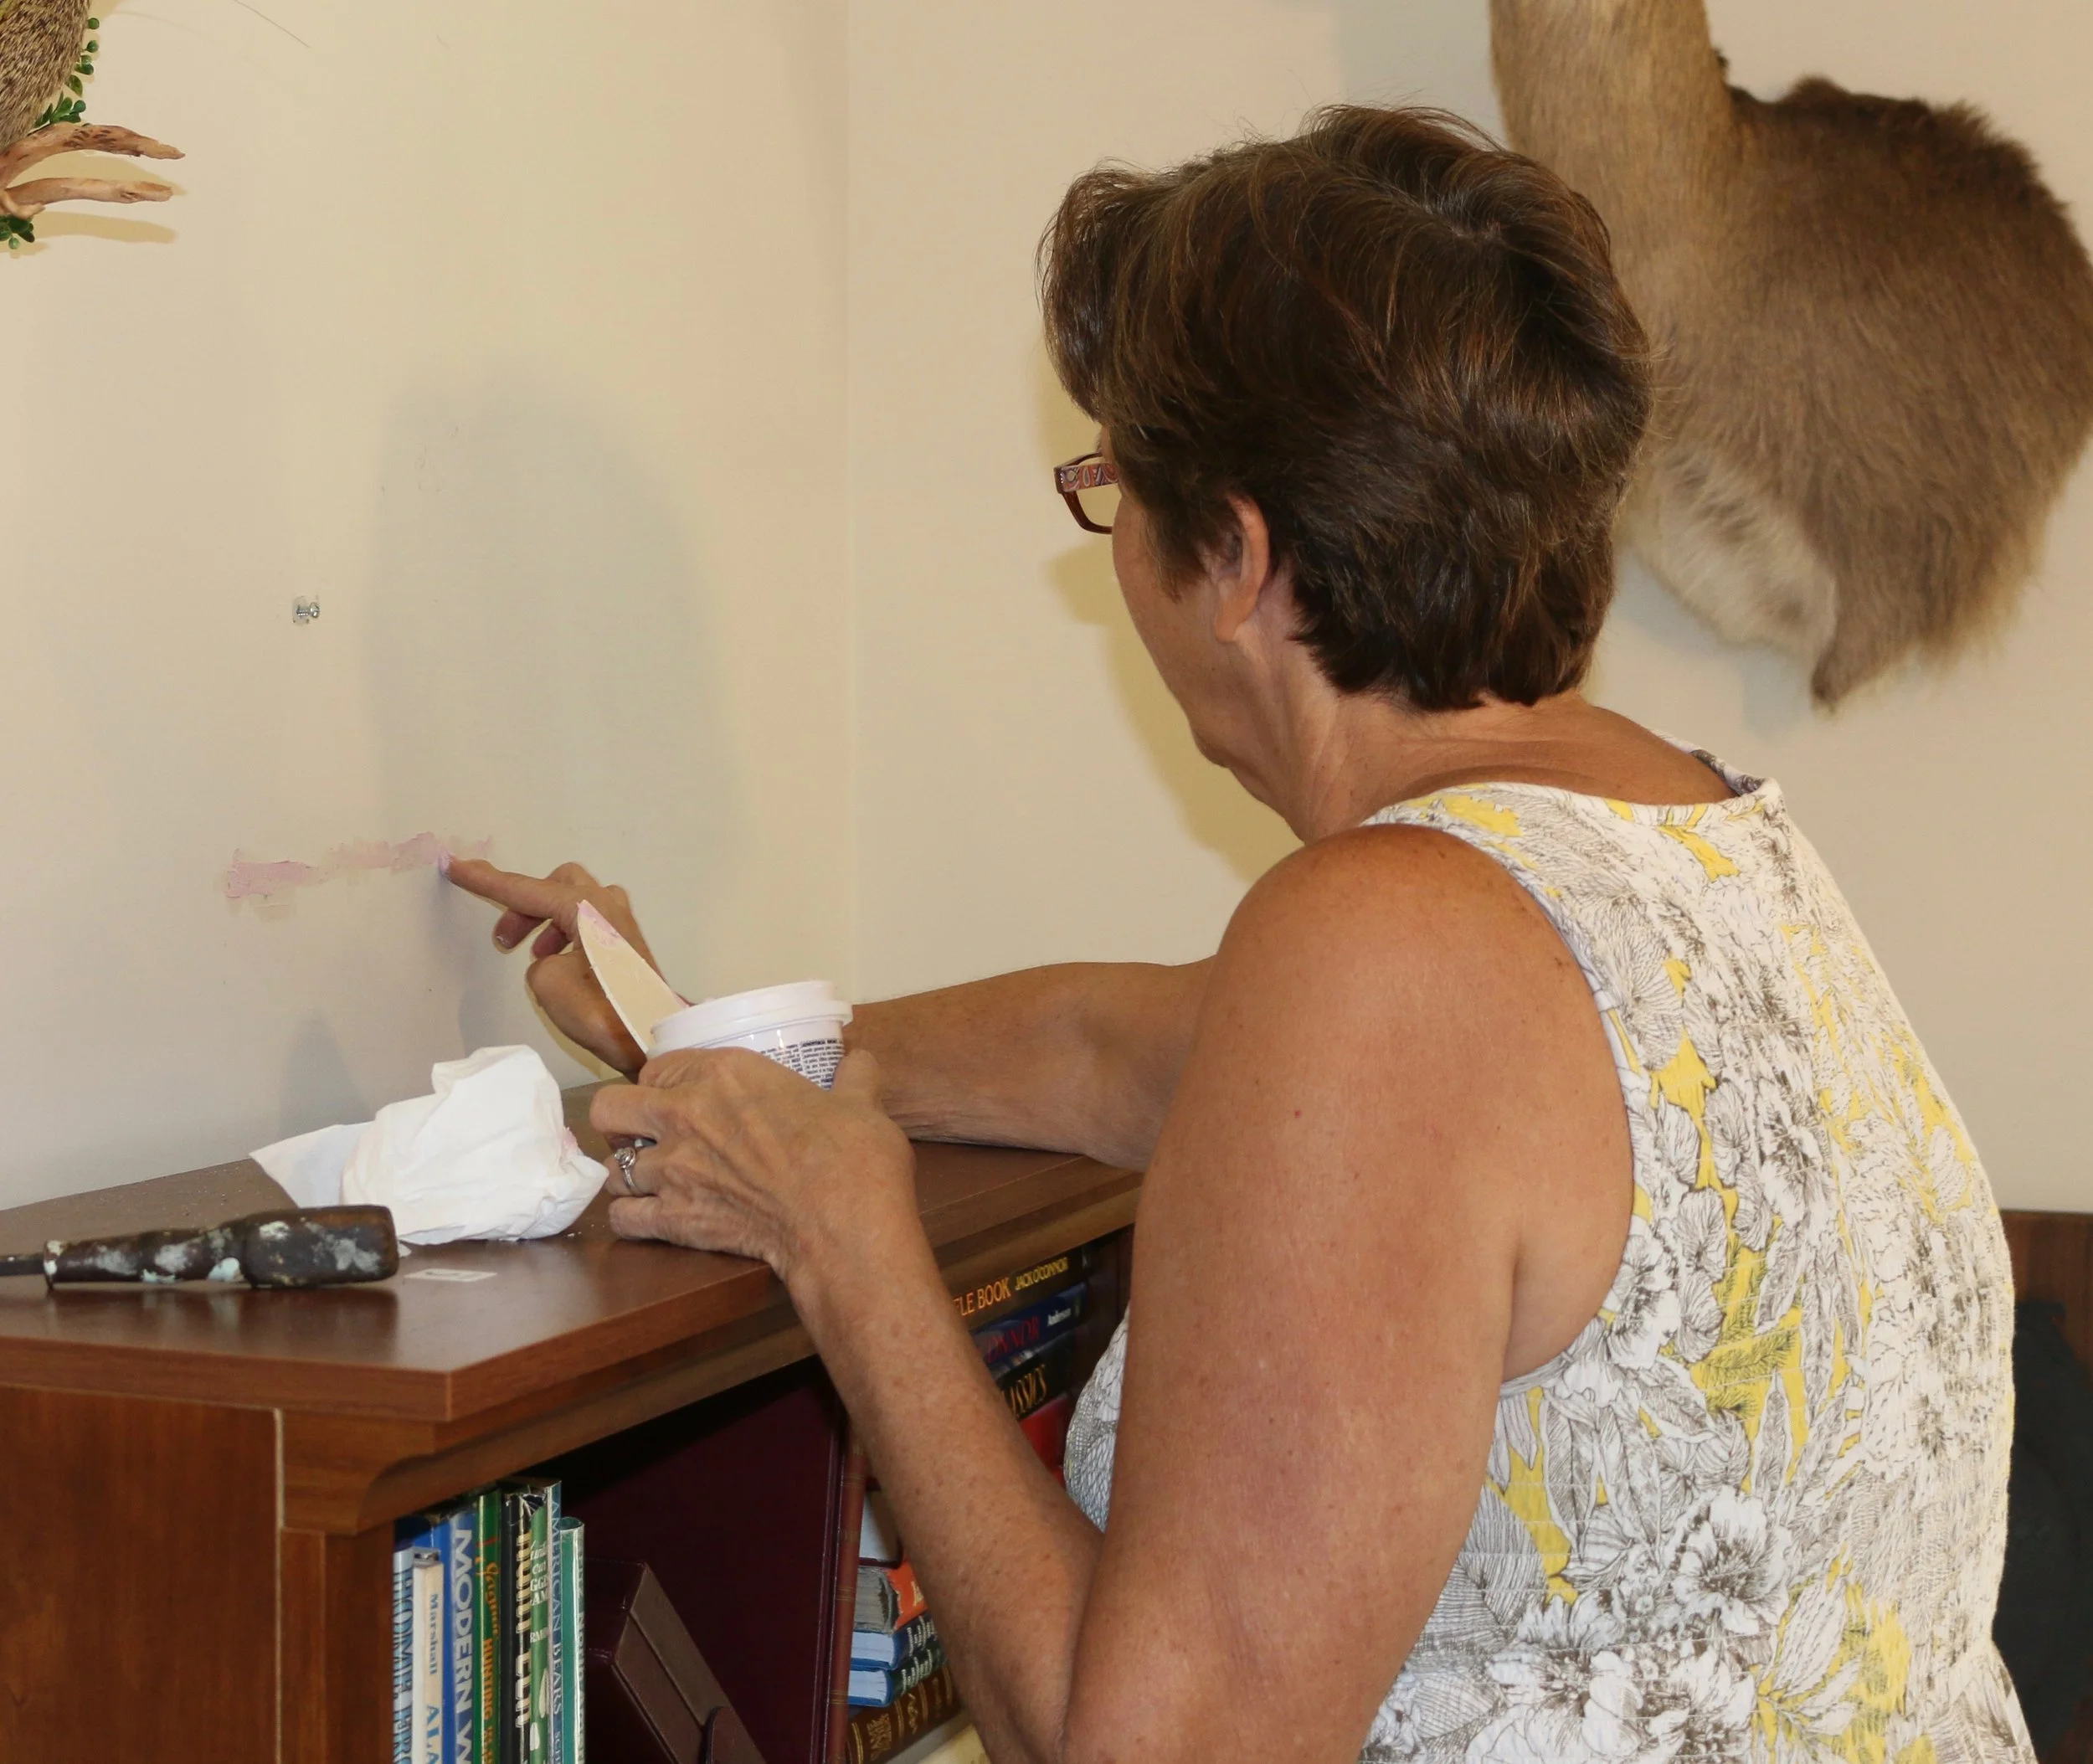
By ‘final’ I meant the final step to the process of placing the trophies on the wall. After all the trophies were in place, Frances graciously offered to putty and paint where I had spent time ‘finding the studs...’
But, man-oh-man, the results were absolutely spectacular!
With the Kudu, Impala and Vaal Rhebok on one set of walls, with the Bush Duiker just below...
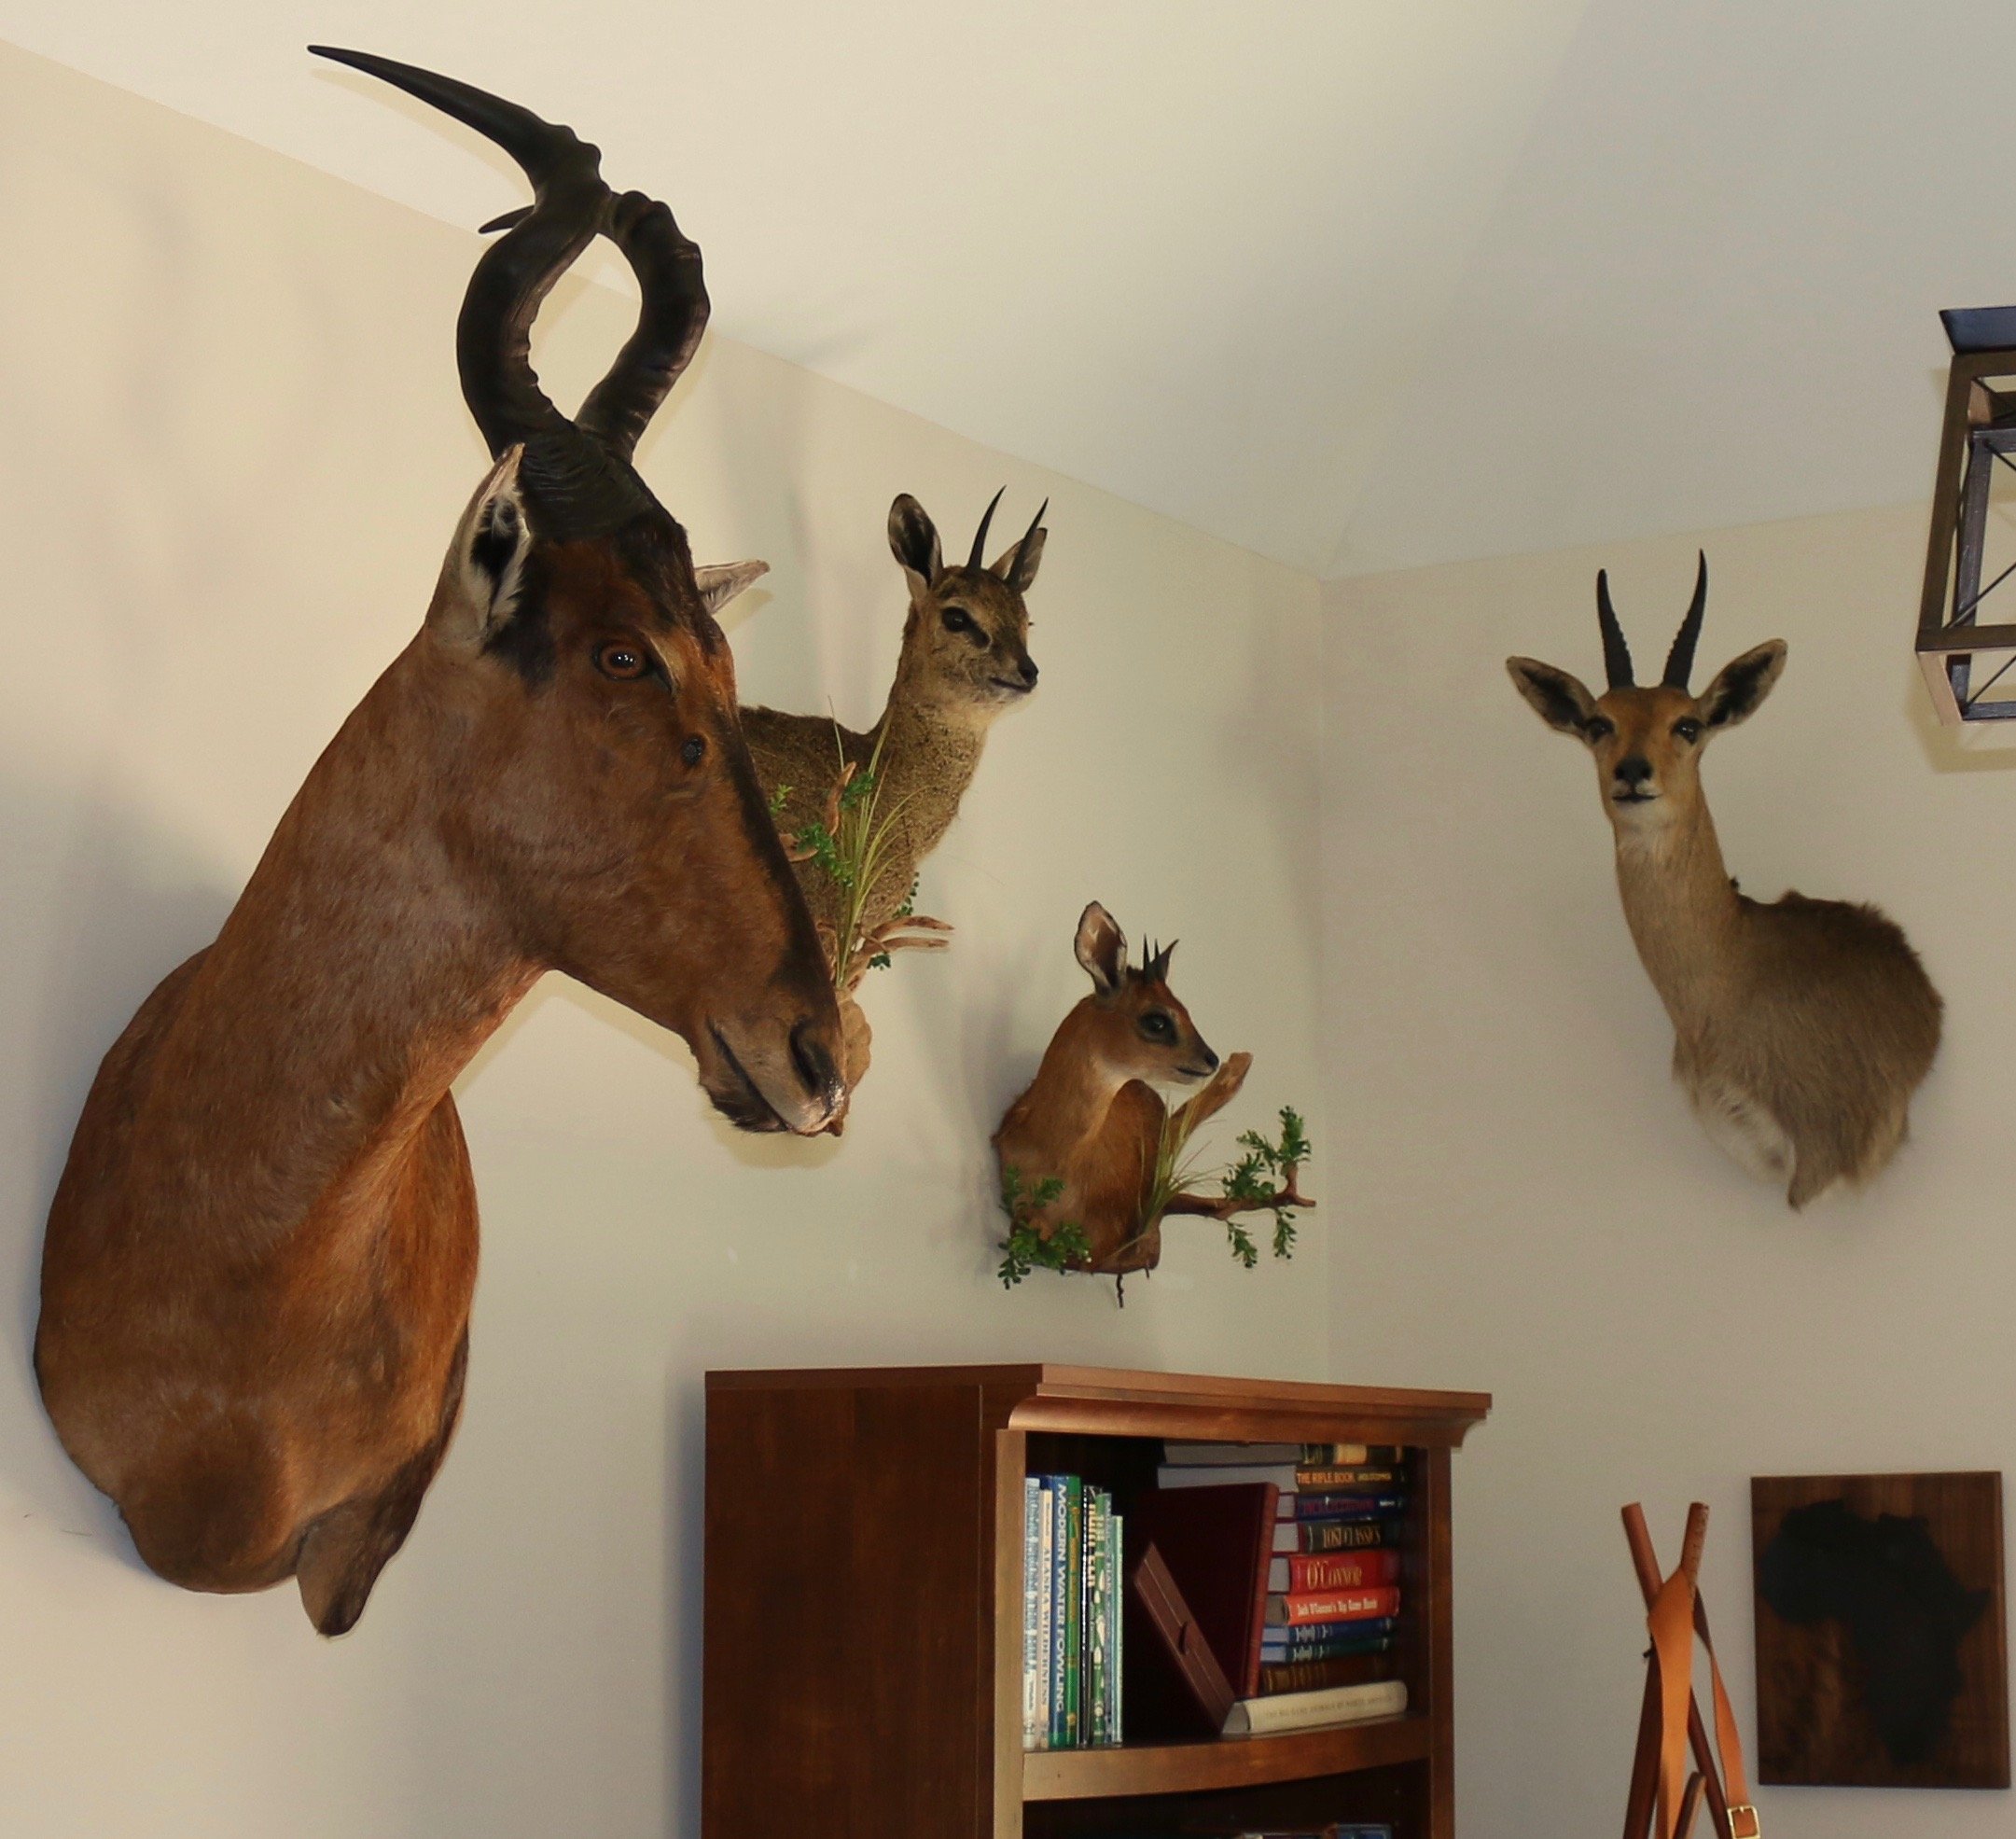
...and in the opposite corner (nearest to farthest) the Red Hartebeest, Klipspringer, Cape Grysbok and Mountain Reedbuck.
My desk faces these wonderful memory-makers, and even as I write these lines they each conjure a specific episode during a magical time spent on Safari.


